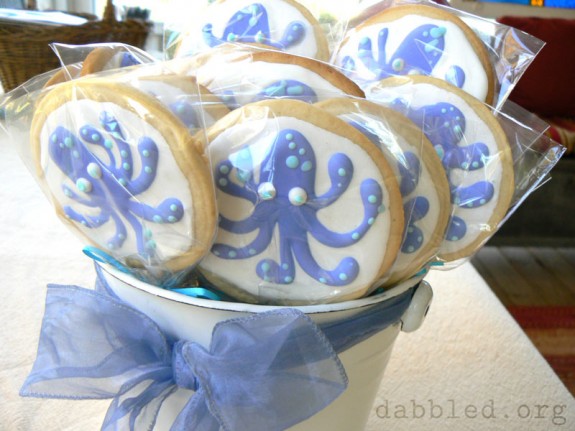
For a friend’s baby shower, we did an octopus theme (the mom was having twins, so the theme was “she’s going to need 8 arms!” These cookies match the invitation.
Here are the cookies I made as shower favors. They weren’t overly difficult, but a tad time consuming. I’ll post the recipe in a later post if anyone is interested, but basically it’s a non-leavened sugar cookie, covered with royal icing. With small skewers for sticks, inserted before the cookie is baked.
The octopus is drawn on freehand, and it doesn’t take artistic talent… Everyone is cute, unique, and just a little bit ‘wopty’!
See below for the how to.
Image may be NSFW.
Clik here to view.
The Base
First just ice the white circles. There’s many good tutorials for this, but they generally involve using a stiffer icing around the edge, and filling in the center with a more runny version. I didn’t do that neat a job with mine. Let that harden before you do the octopus.
Here’s a great tutorial from Wisdom of the Moon on working with royal icing, with a ton of pictures, so you can get the idea.
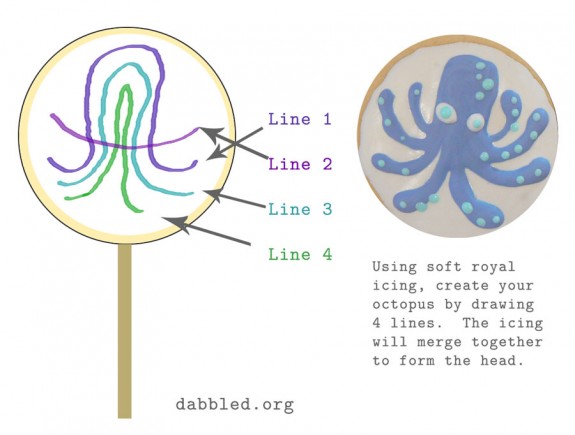
How to draw the octopus head and arms.
You’ll need your royal icing to be a little runny (but not as much as fill icing typically is), so that it will expand to fill a little bit, but not too runny or it will just flatten out (leading to fat legged octopuses without as much dimension). Add a little water to thin, and practice on a spare cookie or parchment. Let them dry before you move on to the real ones, as it may take a few minutes for the icing to flatten. If the icing doesn’t merge together when you draw two lines next to each other, then thin it a bit and test again.
Now, here’s a picture of how to draw the octopus – it’s just 4 lines. The head is created when the lines merge together.
Image may be NSFW.
Clik here to view.
Adding Accents
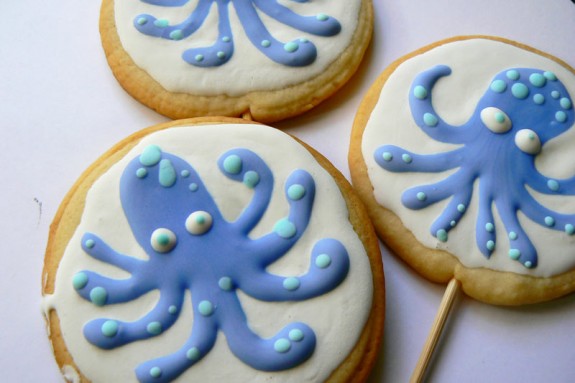
You can decorate the octos any way you want, but I’d suggest at least adding eyes. Here’s what I did.
Eyes: 2 large drops of white icing, topped with tiny dots of blue.
Spots: Random drops of blue
Image may be NSFW.
Clik here to view. As you can see, they are all different, and not quite perfect, but that really added to the charm.
If you try this, I’d love to see!
You might also like…
I just realized I never posted the actual finished invitation, but the illustration for the invitation is here, along with instructions on doing a quick neat photoshop coloring job:
Published on: Feb 2, 2011


